Invoice Manager
| Watch our YouTube video about the Invoice Manager at https://youtu.be/vaQ2VNwLHkQ (if this link is broken because we’ve posted a new version, go to our channel at https://www.youtube.com/SMMware to get to the new video) |
We’ll begin the discussion of the Invoice Manager with the listing screen, shown below.
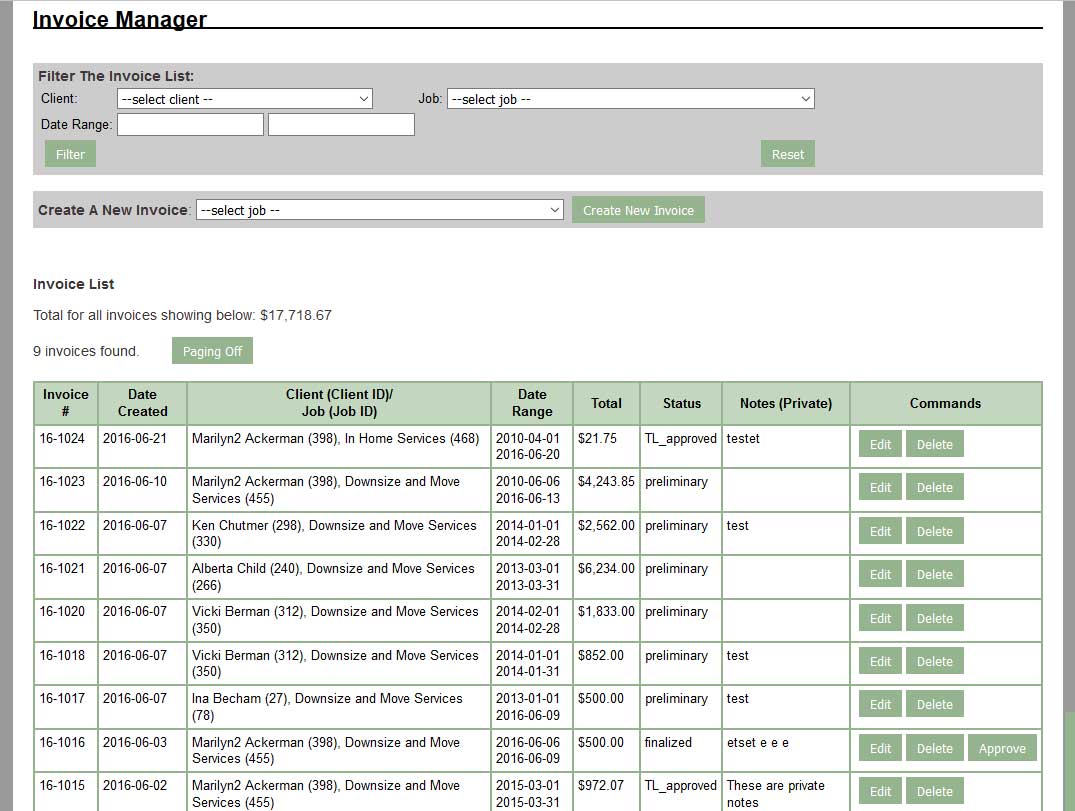
At the top of the screen is a filters section. Normally, all invoices that have been entered in the system are returned, although you will only see one screen’s worth at a time. You can set the ‘client’ and ‘job’ dropdowns as well as a date range in order to limit the invoices selected.
The total value of the invoices shown on the screen is included. If there are more items than fit on one page such that paging is activated, the total is just for what is on this one page. If you want to see the total for all items, you can use the “Paging Off” button. As the name implies, all items will be shown on one page and the total will then include all of the invoices presently selected (based on the filters).
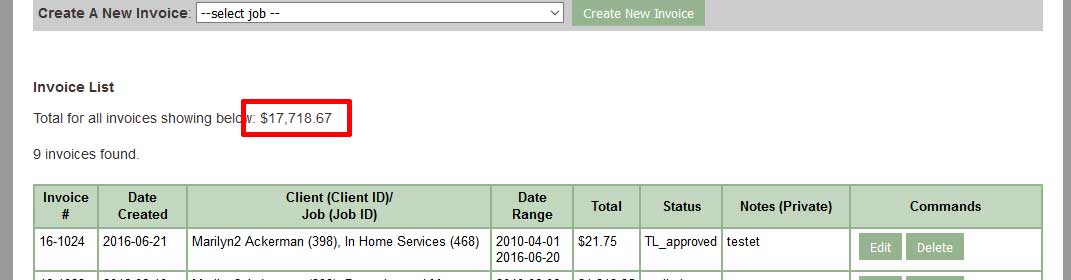
A common usage is in answering the question, what is the total value of invoices sent out in a given month. To answer this question, set the date range. For example: 9/1/2016 – 9/30/2016. Then, if there is more than one page’s worth of results, use the “Paging Off” button. At this point, the total will reflect the invoices sent out in that month.
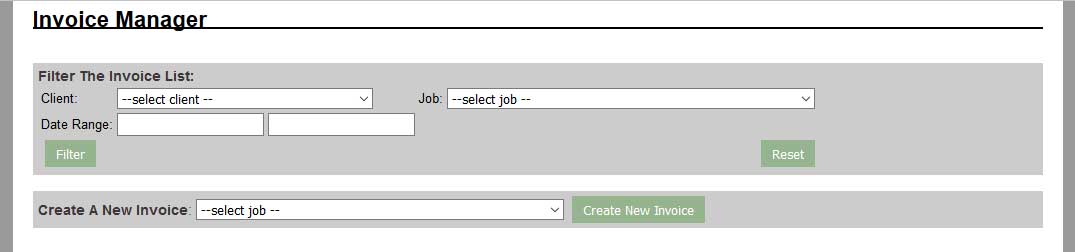
The filters section:
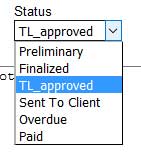
The screenshot below shows a typical line item from the listing screen, for a single invoice. The red highlighting shows a status of TL_approved, short for “Team Leader Approved”.
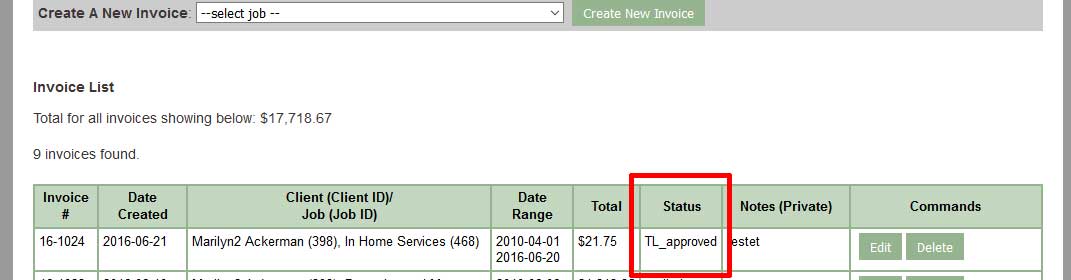
The invoicing system includes an approval process to help you ensure that the client receives an accurate invoice.
When an invoice is first created, it will have a status of “Preliminary”. Sometimes you might want to create an invoice just to get a running total to date, something of a scratchpad. Assigning the status level of “Preliminary” is a way of letting others know that this invoice is not yet ready to be sent to a client, or for approval. Once you, the invoice creator, are satisfied that the invoice is complete, the status should be changed to “Finalized” so that the Team Leader knows they can approve it.
When an invoice has a status of “Finalized” it’s line item on the Listing Screen will include the Approve button. The button appears for the relevant Team Leader. To handle unforeseen circumstances (Sometimes the Team Leader is unavailable for approval but you as an Administrative level user are confident that it is correct) the Approve button also appears for Administrative Users.

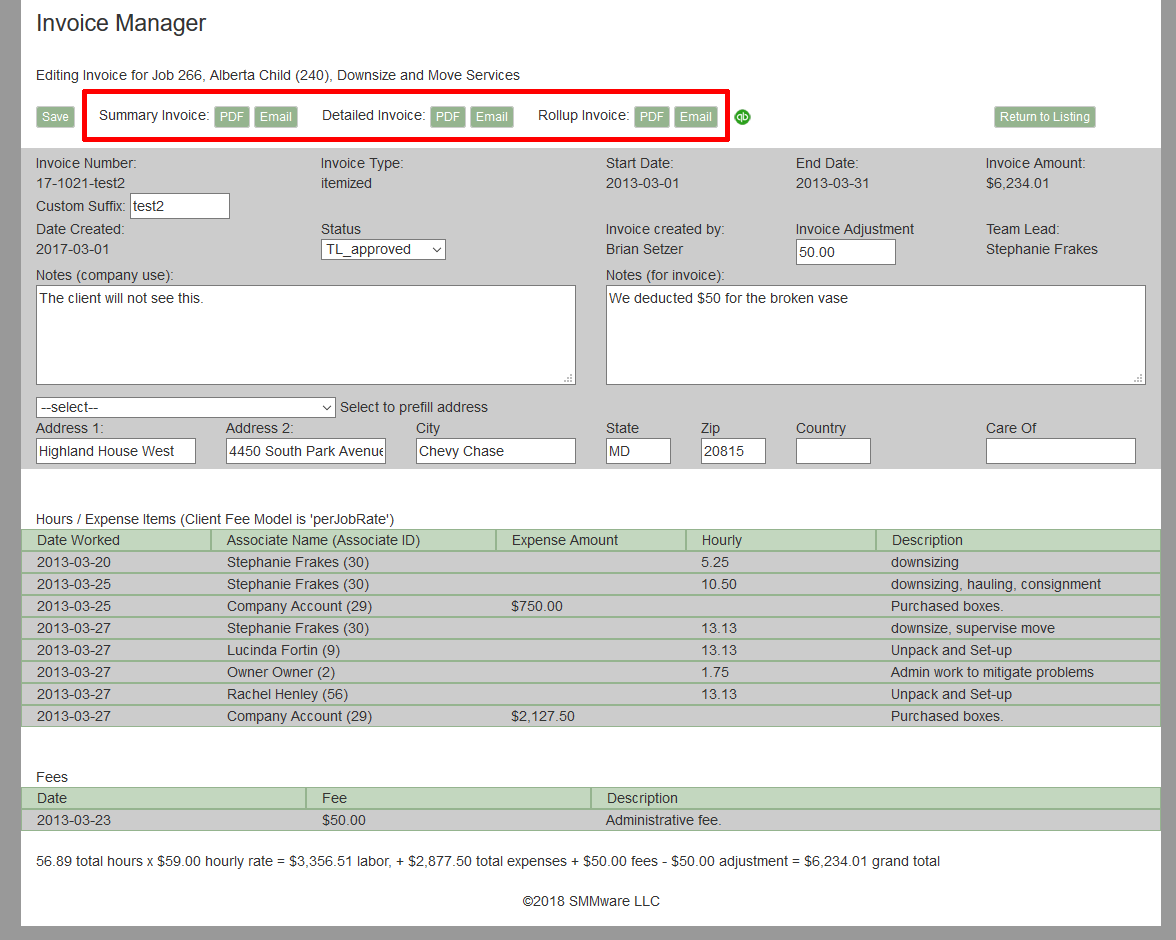
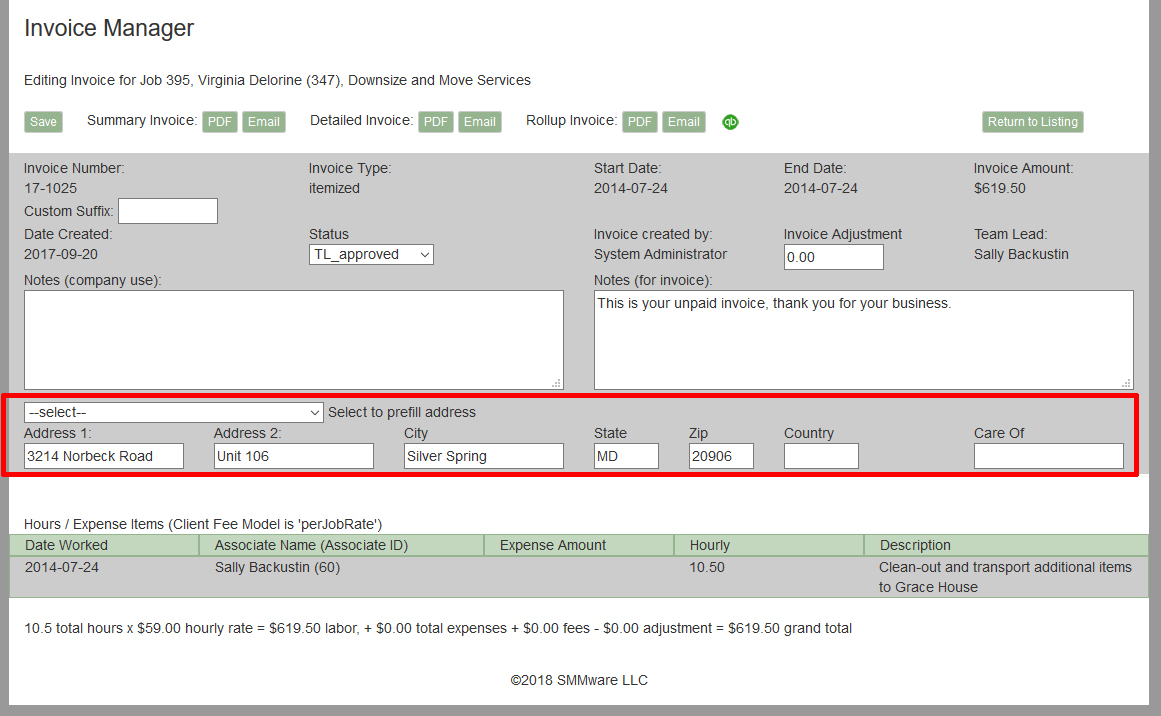
Once the invoice has been approved, it will have a status of “TL_approved”. At this point, the detail view for that invoice will include the “PDF” and “Email” buttons for the formats “Summary”, “Detail”, and “Rollup”. Clicking the PDF button generates a PDF of the invoice which you can save to your hard drive for separate storage or printing. The email button sends an email to the client with the PDF as an attachment. If you do not use a particular format (Summary/Detail/Rollup), you can ask for it to be hidden in the configuration.
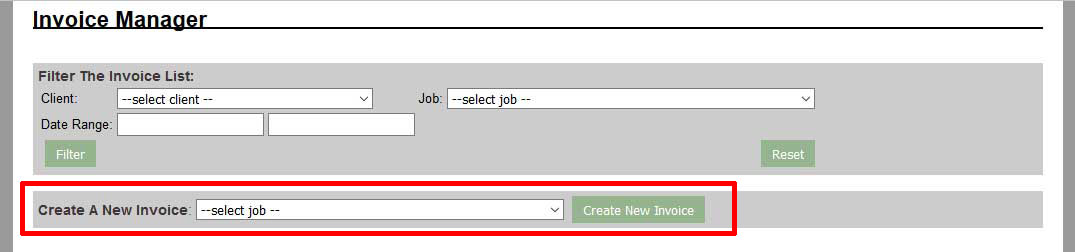
Creating A New Invoice
At the top of the Listing Screen you will find the “Create New Invoice” button. You need to select a job from the dropdown and then click on the button.
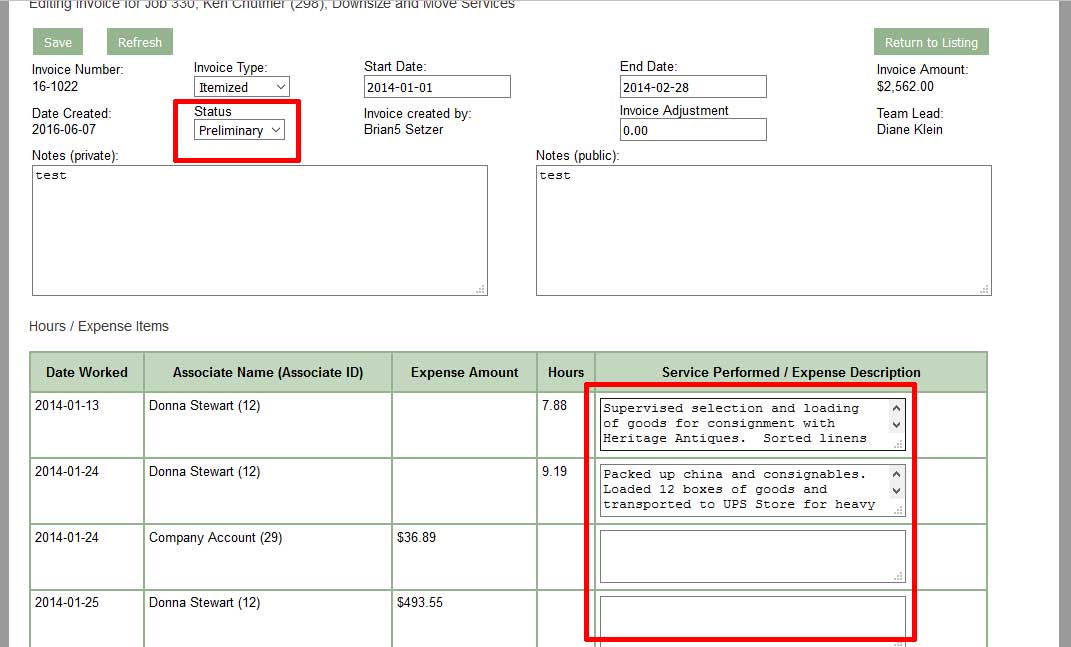
At that point, you will see a new, blank invoice
![]()
The system supports two types of invoices: Flat Fee and Itemized.

An itemized invoice will consist of hour and expense line items and the invoice total is calculated based on those items. A flat fee invoice consists solely of the dollar amount, and you can enter whatever amount is applicable.
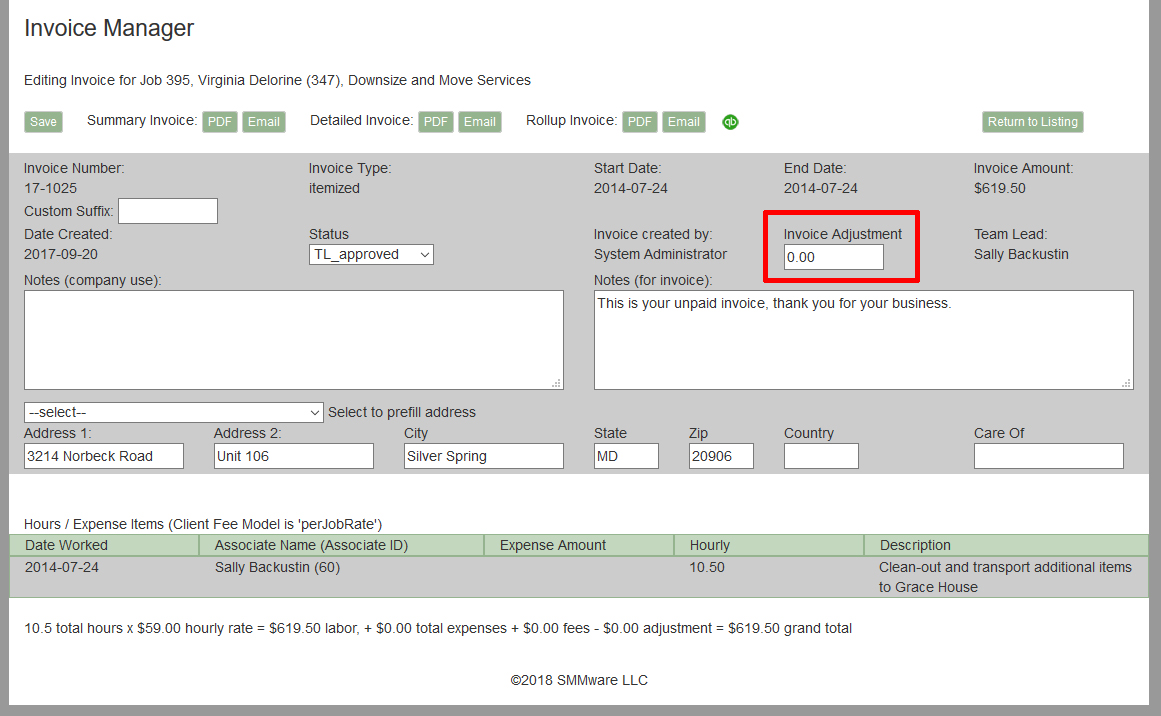
A typical use for a flat fee invoice is for a down payment. Later, when the work is done, you can create an itemized invoice and subtract the down payment using the “Invoice Adjustment” field. You might also mention the reason for the adjustment in the “Public Notes” field to make it clear to the client.
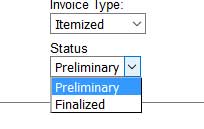
When you first create an invoice, the only values available for the status are “Preliminary” and “Finalized”. This is because the ‘higher’ values are only available after the Team Leader approves the invoice.
To bring hours and mileage entries into the invoice, you will first set a date range. The date range will be compared to the ‘date worked’ field for the hours and mileage entries created using the “Record My Hours/Expenses/Mileage” command under the “Associates” menu.
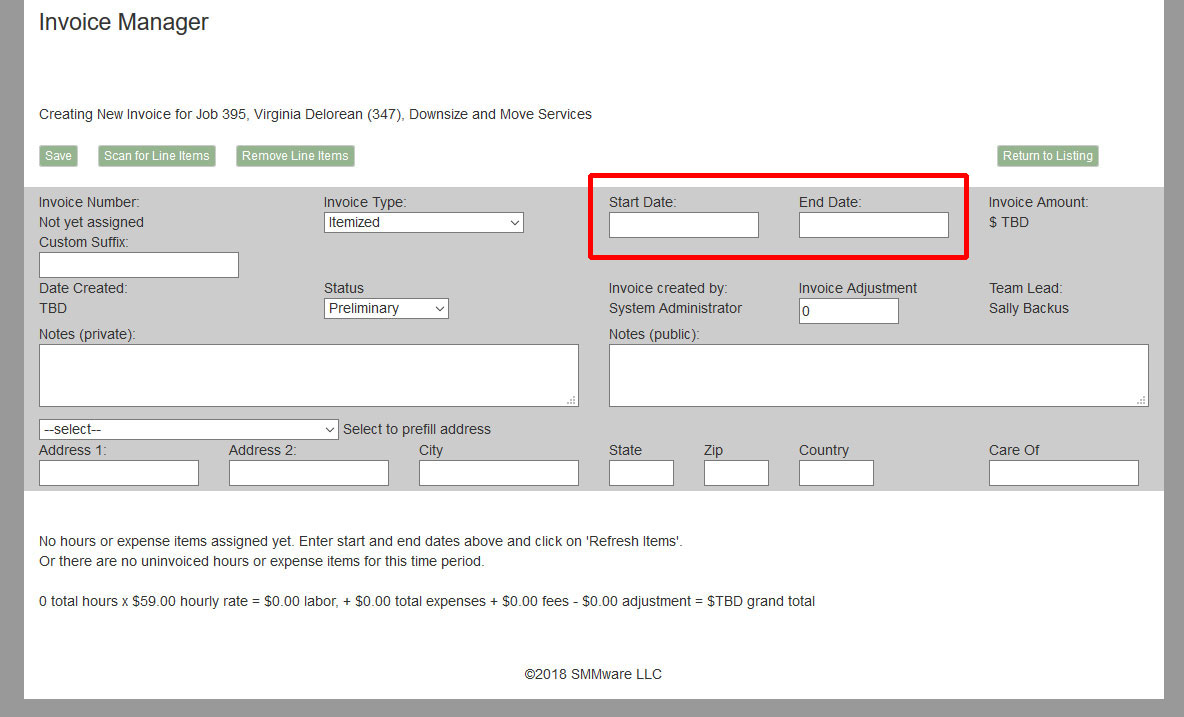
Once you have entered the dates, click on the “Scan For Line Items” button, which is how to tell the system to perform the date range check.
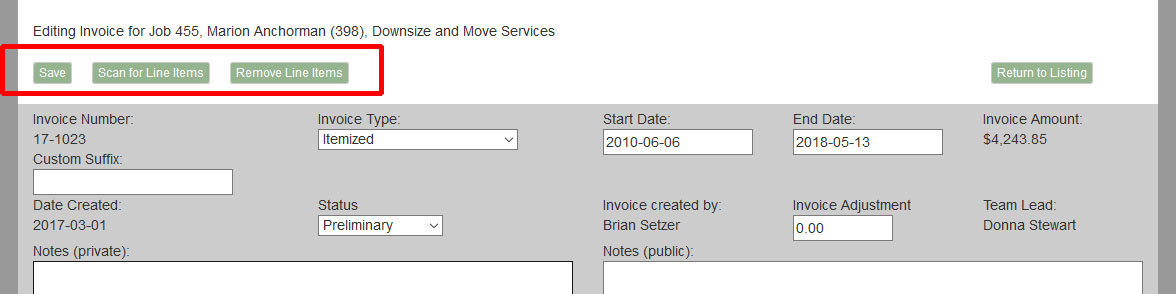
You can use the Scan For Line Items button again if you change the date range, or if you become aware that an associate has created new Hours/Expenses/Mileage entries. At this point, no changes have been made to the database.
Once you are satisfied that you have the right date range, etc. be sure to click ‘Save’. At this point the invoice number will be assigned.
The “Remove Line Items” button is useful when an invoice has already been created and then an Associate remembers they need to alter an hourly entry. The entry is locked since it is part of an invoice. Removing the line items lets you edit the hourly entry. Then you just use the Scan button followed by Save.
You will typically also want to enter notes. The system allows for one ‘for invoice’ note (which the client will see), and one ‘Company use’ note (client won’t see).
The system keeps track of the client’s recent address history, and lets you pick which one to send the invoice to. If the client has a client representative, the representative’s address is one of the choices.
On a new invoice, also notice that the description fields for all the Hours/Expenses line items are editable. The information in these fields is pulled from the service descriptions when the Associate created their Hours/Expenses/Mileage data entry. This provides a convenient way to tidy up notes made by Associates for consistency or grammar since the client will see these. Any changes made here will also be seen when going back to the “Record My Hours/Expenses/Mileage” command.
Once you are satisfied with the invoice, you must click the Save button. At that point, the new invoice is assigned an invoice number and entered into the database. If you forget whether or not you’ve already done the initial save for your invoice, you can tell by looking for an invoice number. If there is an invoice number there, you have. If instead of an invoice number it says “Not yet assigned”, you have not.
As part of the process, each entry for Hours/Expenses/Mileage is tagged with the invoice number. This prevents that item from possibly appearing on multiple invoices, unintentionally double billing the client. If you delete the invoice, these items are released so that they can appear on another invoice.
Once an invoice has a status of “Team Leader Approved”, you can set the other values for status, such as “Sent to Client”, “Overdue”, or “Paid”.